[THM] Anthem Walkthrough
06 Jun 2020
![[THM] Anthem](/images/tryhackme/anthem/banner.png)
Anthem VM is a quick and fun box that leans more towards enumeration and OSINT. As of this writing, the box is available as part of Weekly Challenges rotation so I decided to complete a write-up on it. Without further ado, let’s get started by firing up the Anthem VM box.
NOTE: I will be using Parrot OS as my preferred pentesting environment. You may notice I use sudo for many commands, this is not necessary if you’re running Kali OS as the root user.
Enumeration
Tool: Nmap
I start off by running an nmap scan on almost all boxes to check out what ports are open, so let’s do just that. We’ll keep the command short and sweet, just enough to get the information we need.
Syntax: sudo nmap -A [target]
We’re going to omit the -p flag so nmap will do a quicker scan of the most common ports, we should get some results back relatively quickly that includes most scan info.
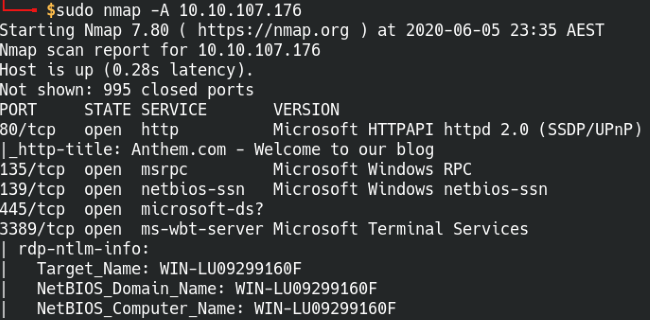
A quick scan of the most common ports in nmap.
</span>
From this scan, we see that it’s running a web server on port 80 and a remote desktop service on 3389. The web server usually provides us with some good information, so let’s head over to the web page and see what’s going on.
Web Enumeration
It looks like a blog web page, clicking around we see some pieces of information that may be of use to us such as: names, email addresses, employee roles, etc. Keeping track of information like this can give us a good idea of the organizational structure and permissions each user possesses. Enumeration is important in every box we do.

The Anthem main webpage.
The room gives us a hint by telling us to look at a page that web crawlers will look at. After some Google-fu, we find information that web search engine crawlers will look at the robots.txt file on web pages so they know if there are directories they should exclude from their scans. For more information about how the robots.txt file works, check out Google’s support page.
Opening the robots.txt file, we see a potential password at the top of the page along with information telling web crawlers to disregard certain directories on the website. This works to our advantage as it tells us it’s likely using Umbraco CMS. Let’s try going to the /umbraco/ directory and see what we find.
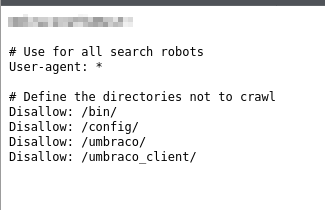
The robots.txt page
Looks like it’s taken us to the Umbraco login page. We already picked up a potential password from the robots.txt file, so all we need now is to find the username to match. The username field says ‘Your username is usually your email’. Remember what we were supposed to do earlier? Any written names and information will come in handy now.
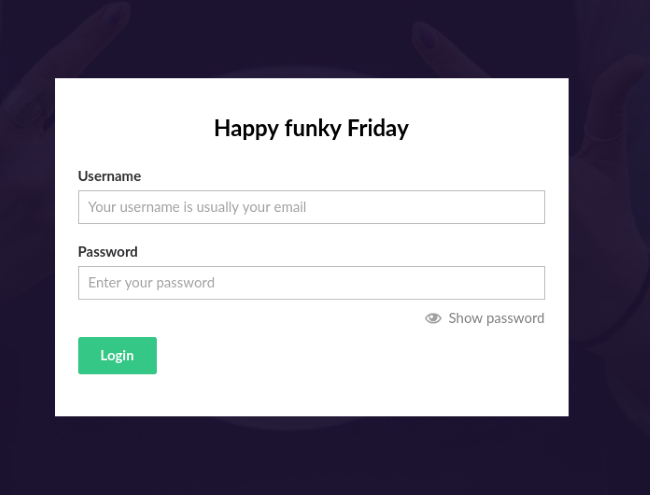
The Umbraco CMS login page.
Let’s recap the information we picked up earlier while poking around the web site:
Post: We are hiring
Name: Jane Doe
Email: JD@anthem.com

Post: A cheers to our IT department
Name: James Orchard Halliwell
Email: JH@anthem.com (?) [this is assuming the same naming convention as Jane]
Other: mentions about the IT admin, wrote a poem about them.
Since we’ll likely need the name and email of the IT admin, the poem should give us some more insight as to who it is. Plopping the poem into Google, we see the poem was originally written by Solomon Grundy so let’s give his name a try. Following the same naming convention, his email should be:
SG@anthem.com
Enter in the email along with the password and we’re into the Umbraco management page! Nice work, time to move onto the next step.
Spot the Flags
Hidden flags you say? Who doesn’t love a good scavenger hunt. We should’ve come across one of them while looking through Jane Doe’s profile page. Based on that flag, we can assume the other flags follow a similar format.
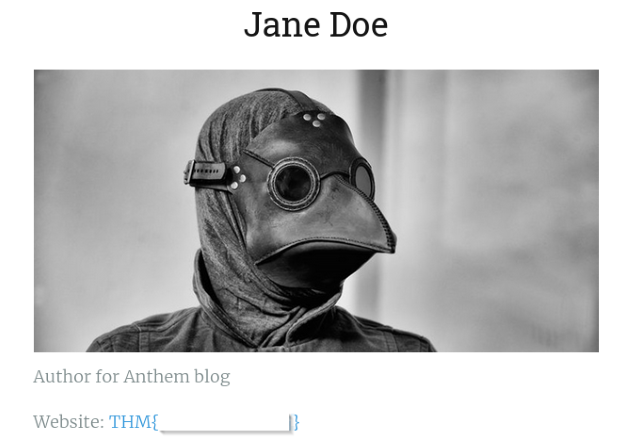
Hidden flag in Jane Doe’s profile page
Where else can we look? Source code! It’s always a good idea to look through the source code on web pages, especially for CTF challenges. Sometimes they’ll have comments hidden within or other goodies. We can find the rest of the flags by going through the source code for different pages. Use ctrl+F and search for “THM{“.
Flag 1: We are hiring blog post
Flag 2: Main page/We are hiring blog post
Flag 3: The visible flag on Jane Doe’s profile page
Flag 4: A cheers to our IT department blog post
Now that we’ve found all four flags, it’s time to break into the machine.
Exploitation
We’ll be using the username and password we gained to gain access to the machine via Windows Remote Desktop Protocol (RDP/Port 3389). Use whichever remote desktop client you like, I’ll be using Remmina today so the process may vary slightly depending on what you choose.
Open up Remmina and enter in the target IP of the machine and start the connection. Hit Yes if it asks to accept the RDP certification.
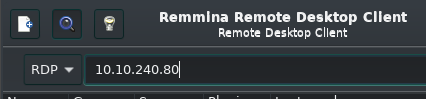
Connect to the target machine using Remmina.
Enter in the username for Solomon (without the @anthem.com) and the password from earlier. Leave the domain field blank.
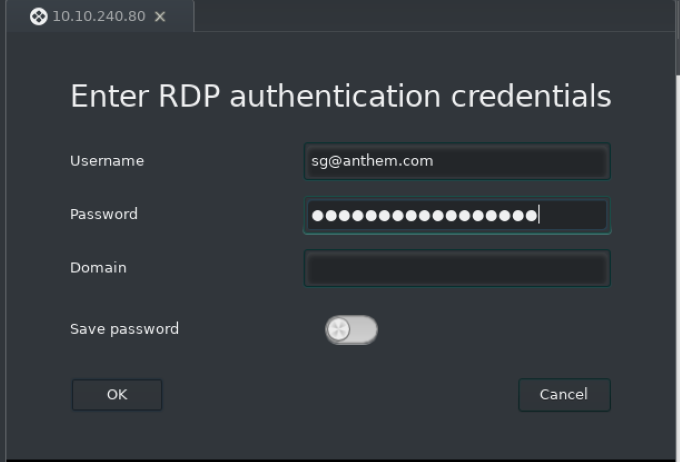
Enter in the username and password to connect.
Once we’re logged into the account, check out the user flag file on the Desktop. Easy!
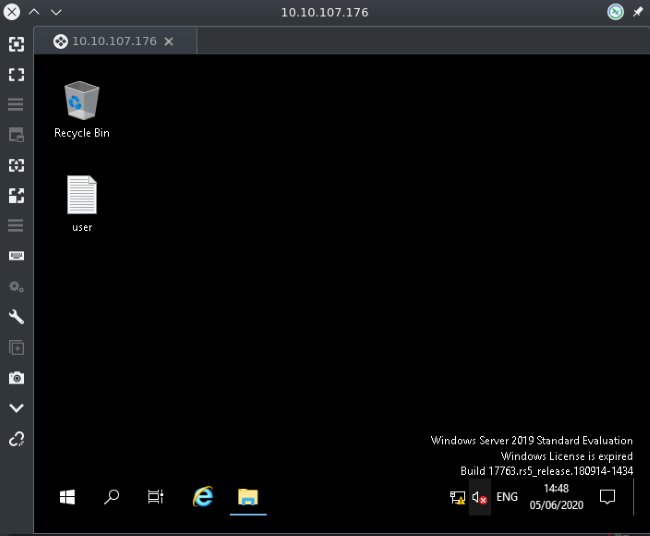
Grab the user.txt flag from the Desktop
We’re given a hint that the admin password file is hidden on the machine, so let’s set hidden files to be visible from the control panel.
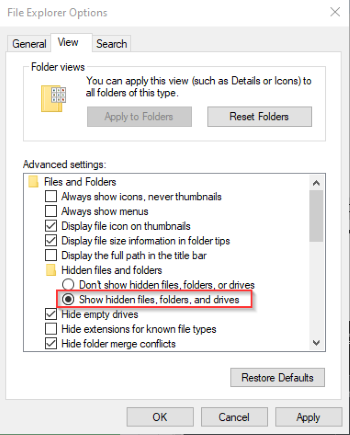
Show hidden files and folders from the control panel.
With that done, start searching from the C root directory for any hidden folders or files of interest. Looks like a hidden backup folder? Juicy. Opening up the restore.txt file inside, we come across an error message.
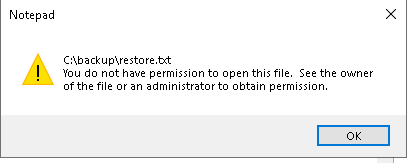
We don’t have permission to open the file.
We don’t have permission to view this text file? Let’s take a look at who does then. Go into the security properties of the file and it says nobody has permission to access the file. Perhaps we can give Solomon the permissions, click on Edit, Add, type in our username “sg”, and hit Check Names. Once that’s done, we should have our user added to the list with default read and execute permissions. That’s good enough for what we need (you can check the Full Control box if you want to).
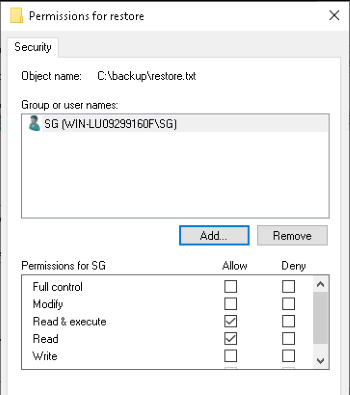
We don’t have permission to open the file.
Go ahead and open up the restore.txt file now. Cool, we got our admin password here. Last thing we need to do is get the root flag from with Administrator access. Let’s head into C:\Users\Administrator, it’ll ask for the admin password so enter in the one we just found. We’re in! The root flag should be sitting on the Desktop.
Great work and happy hacking!